


How to Install Atom Text Editor on CentOS 7
How To install Atom Text Editor on CentOS 7, Atom is an open-source code editor and it is developed by GitHub. Atom is a desktop application Under the hood and built on Electron using JavaScript, CSS, HTML, and Node.js
How to Installing Atom on CentOS 7
Atom is the application for you if you are looking for a single code editor a feature uncommon in a general text editor, which is able of performing different functions.
How to Installing Atom on CentOS 7
Atom is an open-source, multi-platform text editor. So, It is created as a modern and accessible tool, yet it is hackable to the core and lets you customize it to your need.
It is designed with an intuitional interface and is packed with a bunch of features for writing such as JavaScript, CSS, HTML, and others web programming languages.
How to Installing Atom on CentOS 7
Also, it can be used for editing source code for Linux, OS X, and Windows.
This article will guide you through the installation guideline of Atom Text Editor on CentOS 7.
How to Install Atom Text Editor on CentOS 7
So, Before we start with the installation of the Atom Editor, then check out first its features below.
- Has built-in package manager
- Improved soft-wrapping algorithm
- Has Supports Drag and Drop Options
- Has Supports file system browser
- Splits Atom interface into multiple panes for quick code writing
Prerequisites
We install Atom Text Editor on CentOS from their official repositories. If you are a user, you are logged in and must have sudo privileges to be capable to install packages
How to Installing Atom on CentOS 7
You can follow the steps below to install Atom on CentOS 7:
-
- Importing the Atom repository’s GPG key:
-
- Now Create the following repo file to enable the Atom repository:
So, Now Paste the following code into the file:
name=Atom Editor
baseurl=https://packagecloud.io/AtomEditor/atom/el/7/$basearch
enabled=1
gpgcheck=0
repo_gpgcheck=1
gpgkey=https://packagecloud.io/AtomEditor/atom/gpgkey
Here need Save and close the file.
- Install the latest version of Atom Once the repository is enabled with:
sudo yum install atom
To import the repository GPG key Yum will prompt you. Now Type y and then hit Enter.
Starting Atom
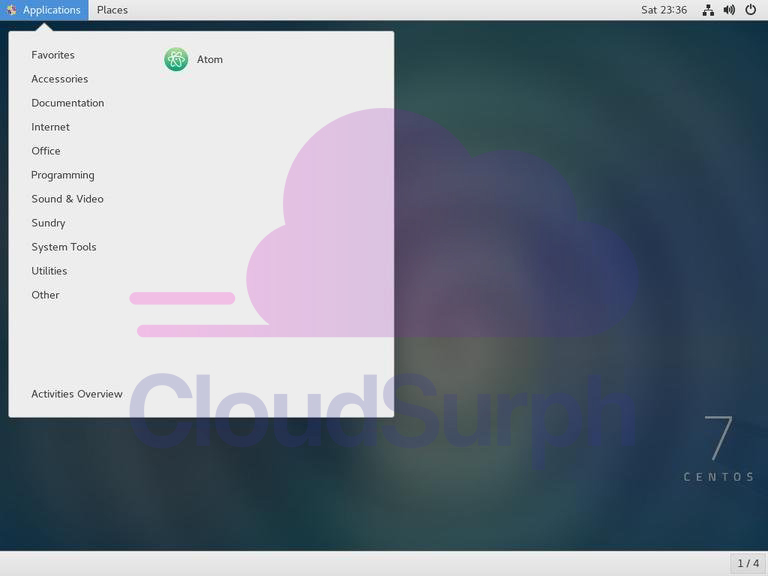
Atom is installed on your CentOS system and you can launch it either from the command line by typing code or by clicking on the Atom icon (Applications -> Programming -> Atom).
The first time you can see the below screenshot is when you start the Atom editor:
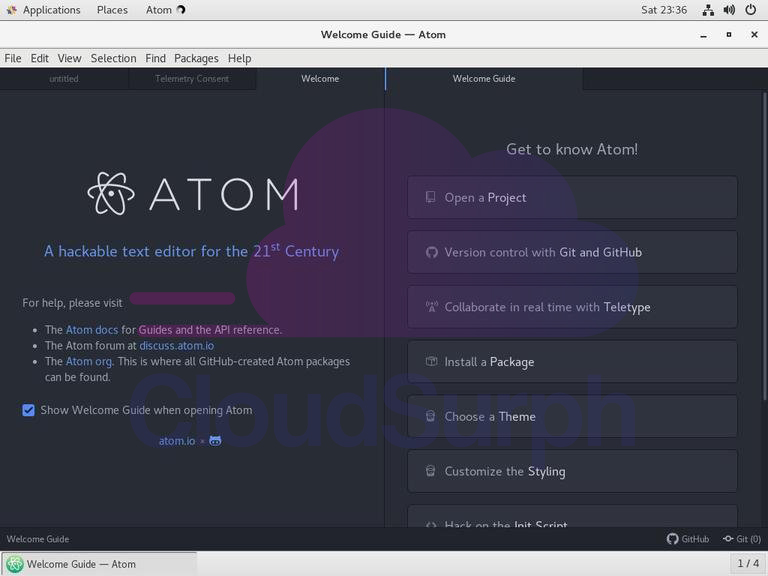
So, now you can start installing themes, extensions and configuring Atom according to your preferences
Upgrading Atom
To upgrade your Atom installation and when new releases are published, you can use generally the yum package manager’s normal upgrading procedure:
Conclusion
But, It was a simple installation process, wasn’t it the Install Atom Text Editor on CentOS 7? The themes in the Atom editor can also be change. You can change both of the editor themes as well as the syntax theme.
How to Installing Atom on CentOS 7
So, Make Atom text editor one truly customizable text editor. When completely installed Atom on your CentOS 7 machine.
Because, You learn more about how to use Atom, from the beginner basics to the advanced level, you can follow their official documentation page. IF you want then buy a good, reliable, secure WordPress web hosting service from here: click here