

How to install cPanel WHM on a CentOS VPS

In this article, we will try to show you how to install cPanel WHM on a CentOS VPS. Nowadays, cPanel is a popular Linux Based web hosting control panel in the world.
cPanel provides a graphical user interface for managing and hosting multiple websites on a single Virtual Private Server (VPS) or Dedicated Server easily.
So, you can perform several tasks such as uploading files, creating emails, settings, handling databases, etc. using this tool.
You can purchase your hosting from Cloudsurph.com, Cloudsurph hosting is a reliable hosting option for business and personal projects. We offer insight and help on system configuration issues and code errors or bugs.
cPanel provides a user-level control interface where users can manage their web hosting easily. The WHM (Web Host Manager) provides a root and reseller level access interface where users can manage settings related work to server administration and account management.
Prerequisites:
- You have acquired a VPS solution.
- You Need to Minimum of 1 GB RAM (Recommended 2GB)
- You Need to Minimum of 20 GB of Disk Space (Recommended 40GB)
- You have installed an SSH client (PuTTY is our terminal of choice).
You can purchase your hosting from Cloudsurph.com, Cloudsurph hosting is a reliable hosting option for business and personal projects. We offer insight and help on system configuration issues and code errors or bugs.
Step One: Log on to the VPS server.
Firstly, you need to log on to your VPS server, you can use PuTTY to log in to your own server. Love to Code? We’re Your Helping Partner, click here for Buy Our Service
Step Two: Install Perl.
After logging in to your server then Install Perl by entering the following command [root@rmtech ~]# yum –y install perl
Step Three: Download and Install WHM.
Thirdly, need to download and run the following WHM installation script below [root@rmtech ~]# cd /home && curl -o latest -L https://securedownloads.cpanel.net/latest && sh latest
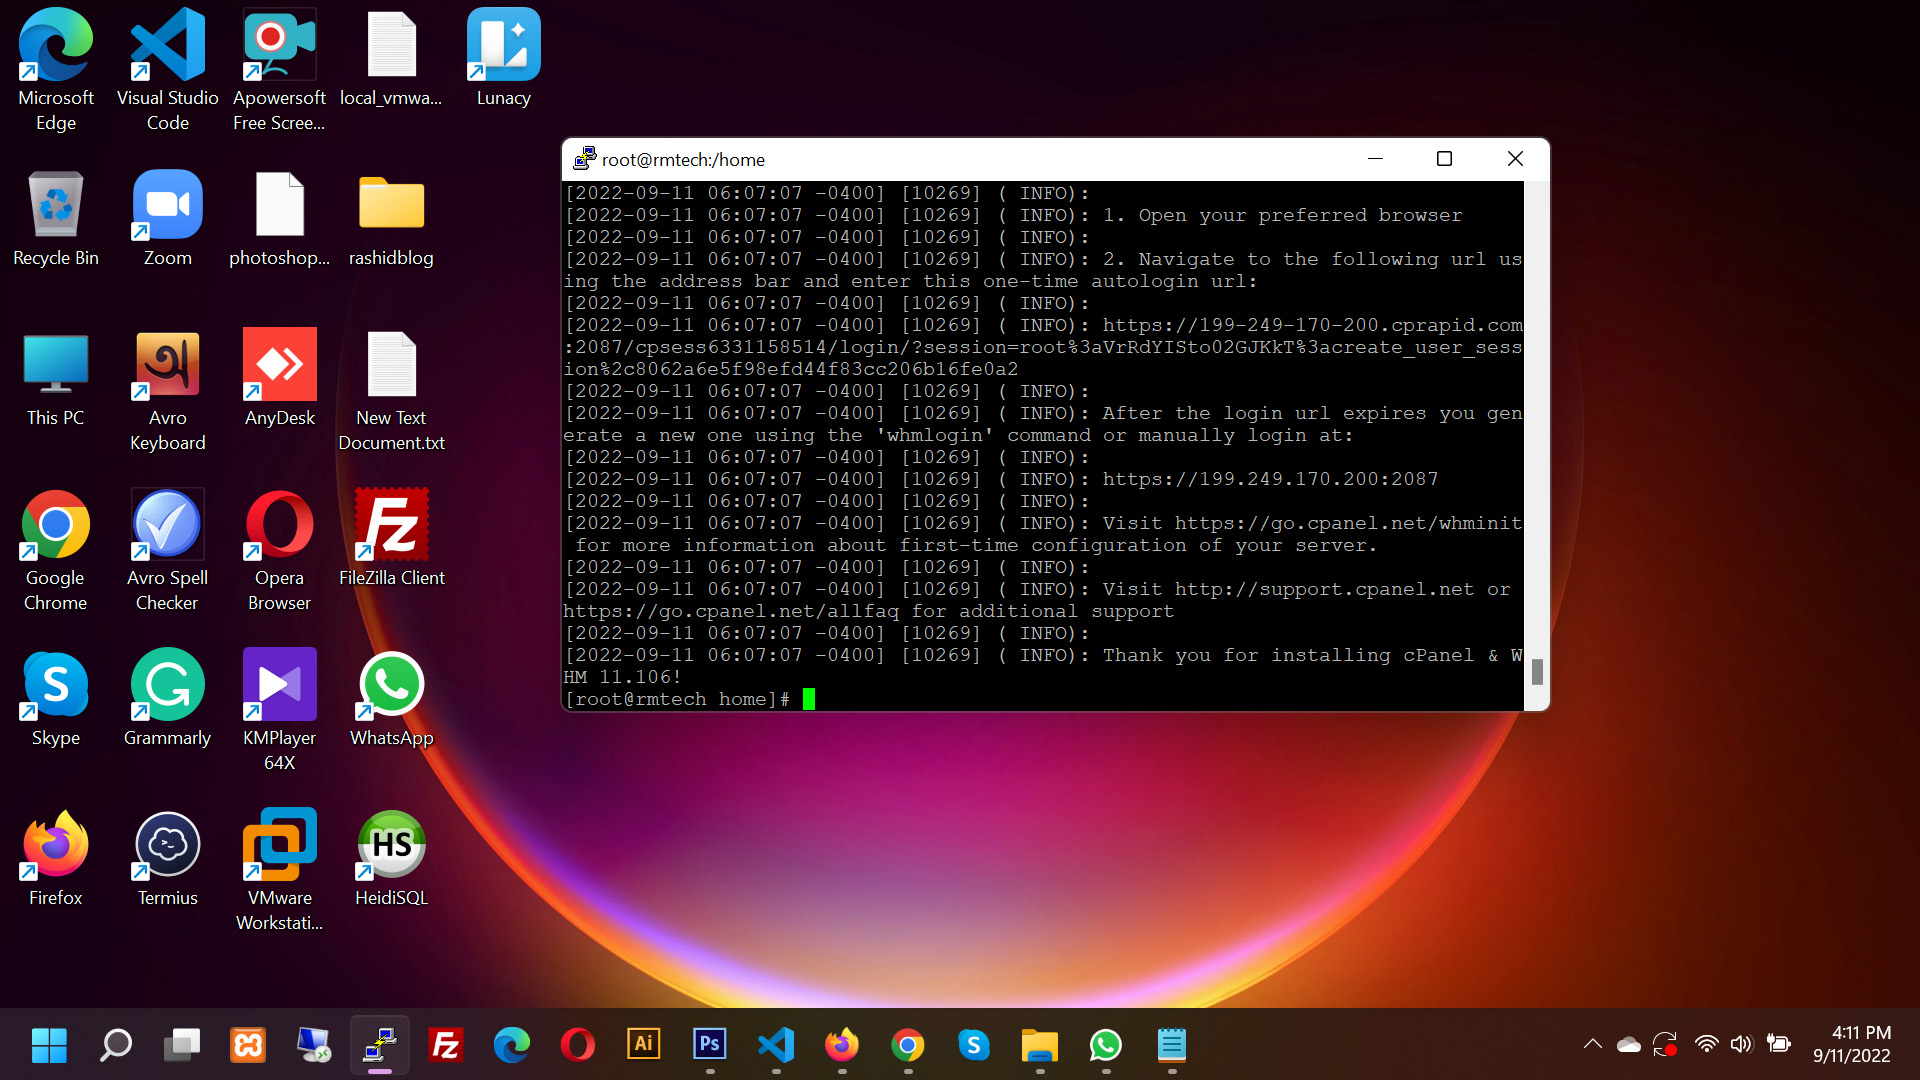
Once the installation script is completed and finished, you will see the following script like below
Step Four: Setting up WHM.
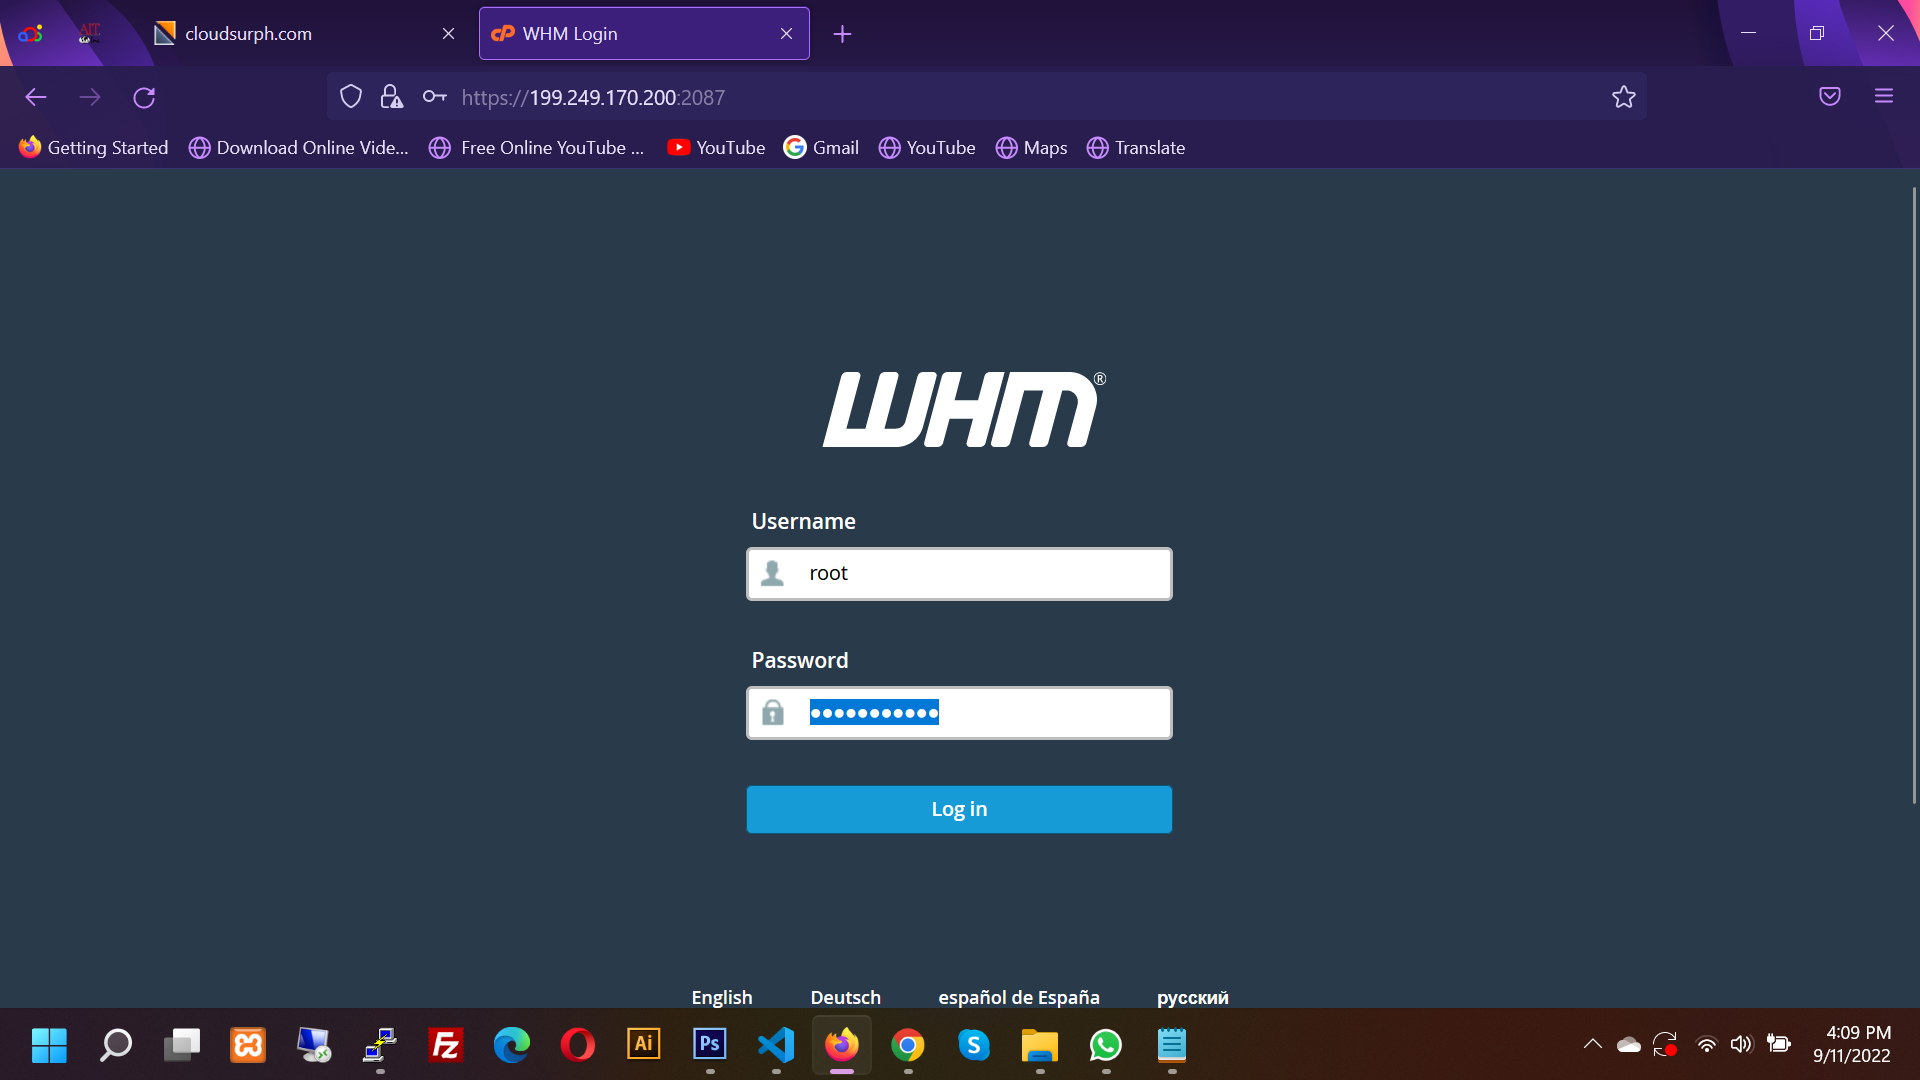
Now, open your any browser and go to "https://your-server-ip:2087" to access your WHM.
Note: Here you need to make sure you are using "https" to access WHM in your any web browser.
After then, when you see the following screenshot below, then you need to log in with the username "root" and your root password.
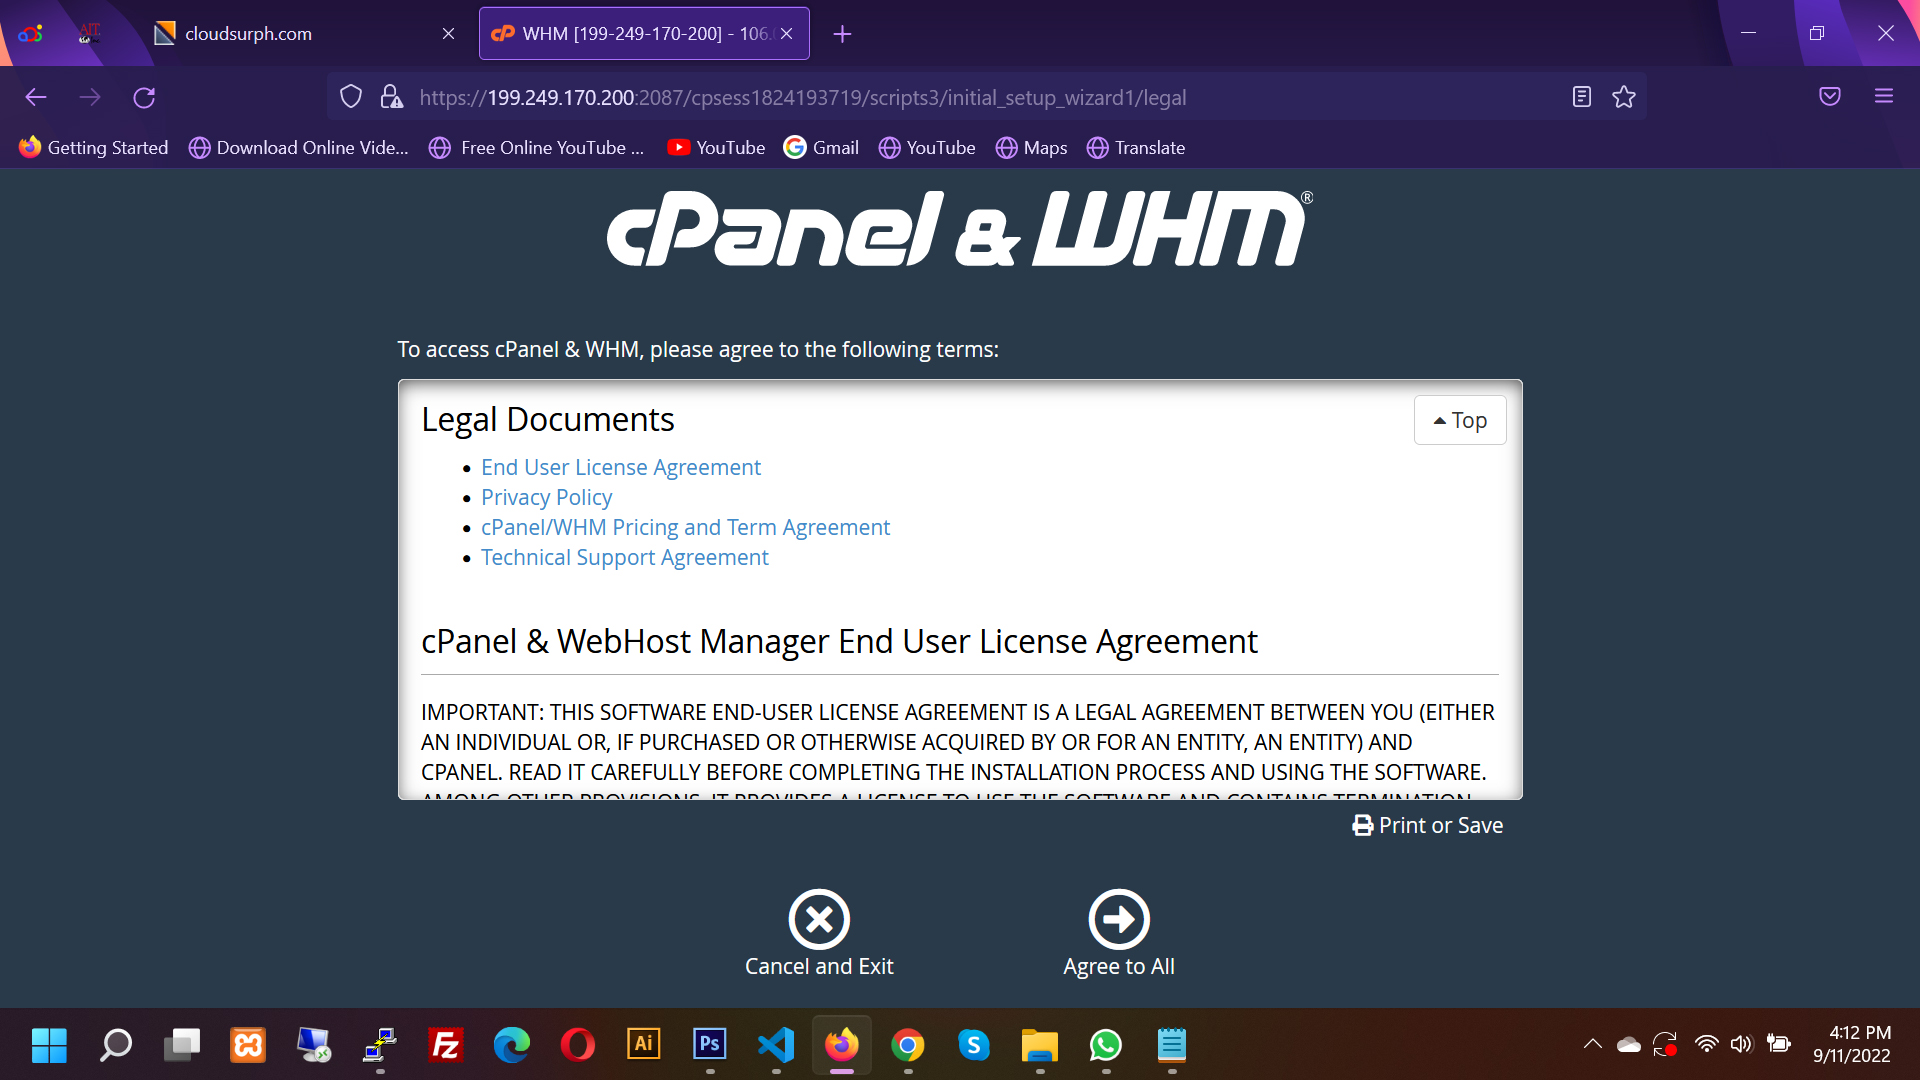
Finally, here you need to do some settings such as Read and accepting the license agreement, entering your contact information and valid email address, specifying DNS resolvers and network device, adding additional IP addresses, etc.
Step Five: Create a New Account and cPanel.
Now, you can see the cPanel interface, and you will need to create a new account from "Create a New Account" under the Account Functions tab.
So, enter your domain, username, password, and email and you can leave other items defaulted. Love to Code? We’re Your Helping Partner, click here for Buy Our Service

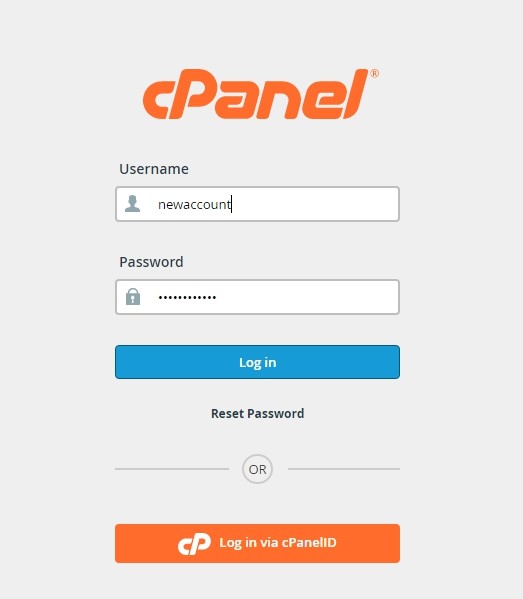
Finally, to access your cPanel, go to "https://your-server-ip:2083" in your web browser and enter your credentials login, and password.
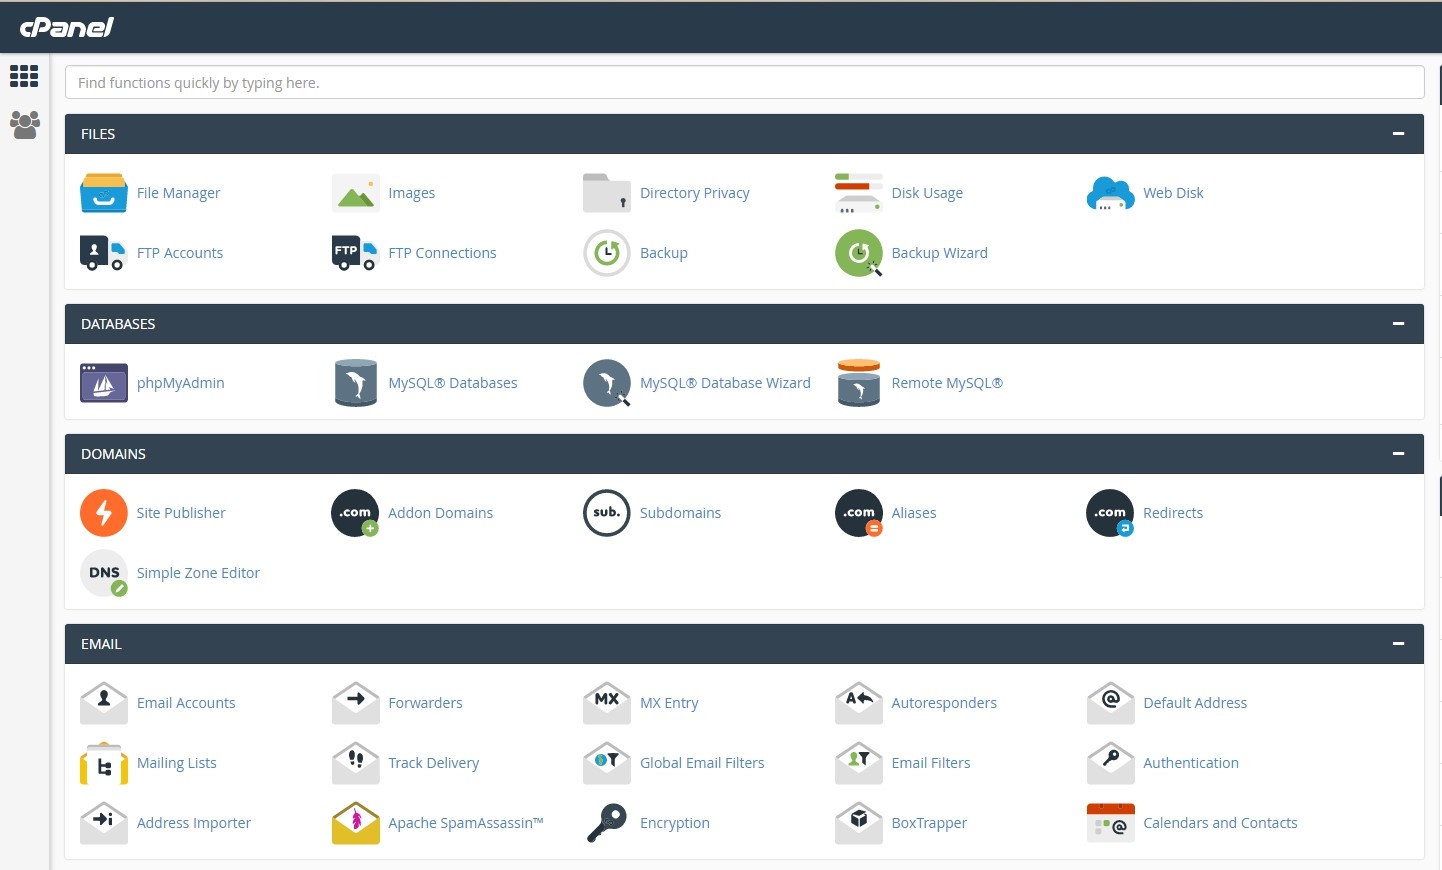
After authorization is completed, you will see the following cPanel screen like the below screenshot, from which you can manage your site hosting settings. Love to Code? We’re Your Helping Partner, click here for Buy Our Service
That’s it. If you enjoyed reading this article and have more questions please reach out to our support team via live chat or email and we would be glad to help you. we provide server hosting for all types of need and we can even get your server up and running with the service of your choice.