

AdonisJS: Sending Emails

In this article, we can try to Define the AdonisJS Mailer Module, How to Manage the Mailer module of AdonisJS, Config Mailer module, configure new mailers and Usage, defer email sending Email templates, Use MJML to create your template.
Mailer
If you follow this article you can send emails from your application using the Mailer module of AdonisJS. Because it’s built on top of a nodemailer with a few additions like previewing emails and the ability to trap emails during tests.
Before you can start sending emails, you need to make sure to install and configure the package using the following instructions or steps.
Install
You can check our previous article: AdonisJS: REST API simple CRUD Operation. IF you want then buy a good, reliable, secure web hosting service  from here: click herenpm i @adonisjs/mail
Configure
node ace configure @adonisjs/mail # CREATE: config/mail.ts # CREATE: contracts/mail.ts # UPDATE: .env,.env.example # UPDATE: tsconfig.json { types += "@adonisjs/mail" } # UPDATE: .adonisrc.json { commands += "@adonisjs/mail/build/commands" } # UPDATE: .adonisrc.json { providers += "@adonisjs/mail" }
Validate environment variables
/** * Depending upon the mail driver you are using, you must validate * the environment variables required by it. * * Following is an example with Mailgun */ export default Env.rules({ MAILGUN_API_KEY: Env.schema.string(), MAILGUN_DOMAIN: Env.schema.string(), })
Config
Now, see the configuration for the mail package is stored inside the config/mail.ts file. Inside this file, you can define multiple mailers using the same or different drivers if you want.
You can purchase your hosting from Cloudsurph.com, Cloudsurph hosting is a reliable hosting option for business and personal projects. We offer insight and help on system configuration issues and code errors or bugs.
import { mailConfig } from '@adonisjs/mail/build/config' export default mailConfig({ mailer: 'mailgun', mailers: { mailgun: { driver: 'mailgun', baseUrl: 'https://api.mailgun.net/v3', key: Env.get('MAILGUN_API_KEY'), domain: Env.get('MAILGUN_DOMAIN'), }, smtp: { driver: 'smtp', host: Env.get('SMTP_HOST') as string, port: Env.get('SMTP_PORT') as string, }, }, }) So, you can pass all of the options except oDkim during the Mail.send call as well. await Mail.use('mailgun').send((message) => { message.subject('Welcome Onboard!') }, { oTags: ['signup'], }) Also, you can define all configuration options at runtime during the Mail.send call. await Mail.use('sparkpost').send((message) => { message.subject('Welcome Onboard!') }, { transaction: true, openTracking: false, })
Smtp auth options
Here, you can define the authentication options for the SMTP connections following the below command: { smtp: { driver: 'smtp', auth: { type: 'login' user: 'username' pass: 'password' } } }
// Using Oauth2
{
smtp: {
driver: 'smtp',
auth: {
type: 'OAuth2',
user: 'username',
clientId: 'clientId',
clientSecret: 'clientSecret',
refreshToken?: 'refreshToken',
accessToken?: 'accessToken',
expires?: 3600,
accessUrl?: 'accessUrl'
}
}
}
Configuring new mailers
Do configure new mailers after the initial setup and use the config stub as a reference to copy the default options for all the drivers.
You must define the mailers inside the contracts/mail.ts file before you can define its config or use it to send emails also. The contracts file is a way to inform the TypeScript static compiler about the existence of the mailer module.
declare module '@ioc:Adonis/Addons/Mail' { import { MailDrivers } from '@ioc:Adonis/Addons/Mail' interface MailersList { smtp: MailDrivers['smtp'], ses: MailDrivers['ses'], mailgun: MailDrivers['mailgun'], sparkpost: MailDrivers['sparkpost'], } }
In the MailersList interface are a key-value pair of the mailer name and the driver it uses and key can be anything. For example, like below
interface MailersList { transactional: MailDrivers['mailgun'], newsletter: MailDrivers['sparkpost'], }
Usage
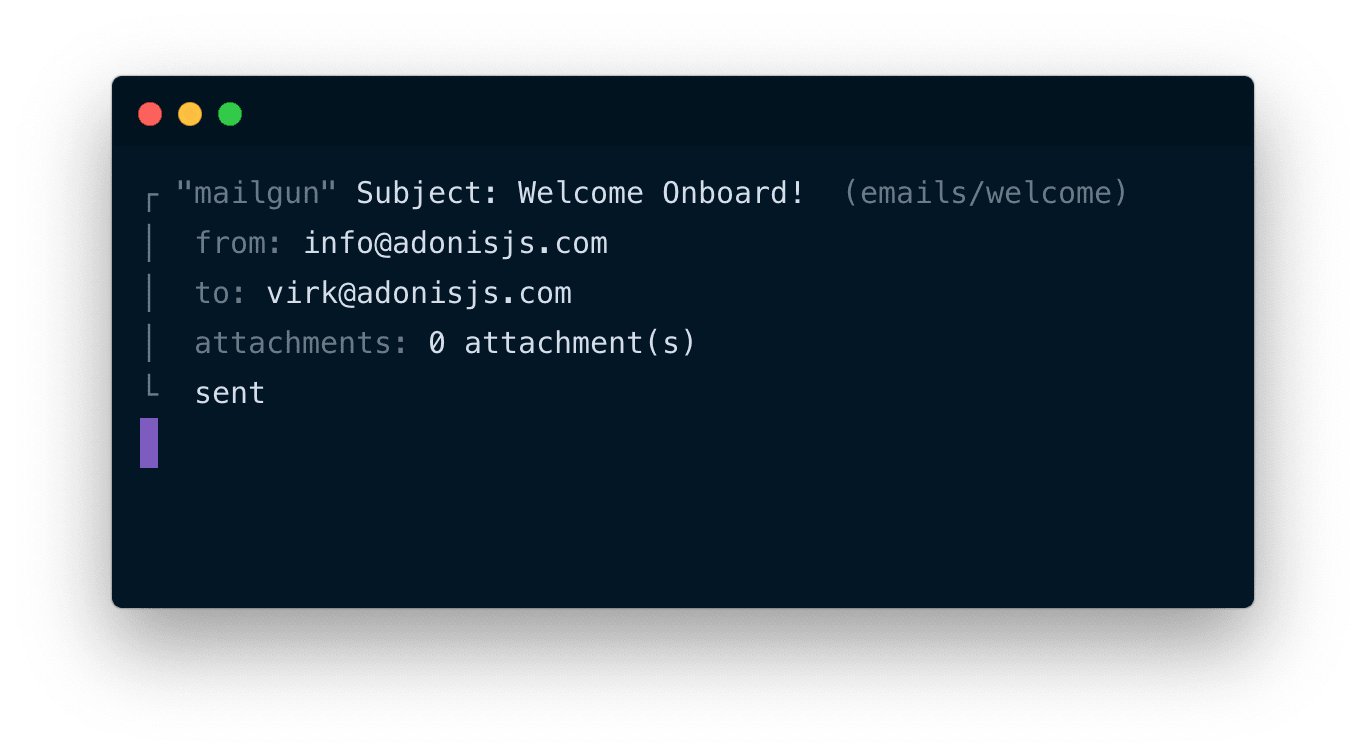
However, once done with the setup, you can import the Mail module and send emails using the Mail.send method. And then it accepts a callback function to let you configure the outgoing message. import Mail from '@ioc:Adonis/Addons/Mail'
class UsersController {
public async store() {
await Mail.send((message) => {
message
.from('[email protected]')
.to('[email protected]')
.subject('Welcome Onboard!')
.htmlView('emails/welcome', { name: 'Virk' })
})
}
}
Defer email sending
Now, you can make use of the Mail.sendLater method to push the email to an in-memory queue. class UsersController { public async store() { // Pushed to in-memory queue await Mail.sendLater((message) => { message .from('[email protected]') .to('[email protected]') .subject('Welcome Onboard!') .htmlView('emails/welcome', { name: 'Virk' }) }) } }
Email templates
So, you can make use of standard Edge templates for defining the email content. The templates live inside the same resources/view directory. For better organization, you can move them inside a sub-directory called emails like the below example: node ace make:view emails/welcome
✔ create resources/views/emails/welcome.edge
Now, created a new template file and paste the following contents inside it. <h1> Welcome {{ user.fullName }} </h1> <p> <a href="{{ url }}">Click here</a> to verify your email address. </p> Finally, you can reference the template as like below commands await Mail.sendLater((message) => { message.htmlView('emails/welcome', { user: { fullName: 'Some Name' }, url: 'https://your-app.com/verification-url', }) })
If you want to know more about AdonisJS Model relationships then please visit AdonisJs main website.
If you enjoyed reading this article and have more questions please reach out to our support team via live chat or email and we would be glad to help you. we provide server hosting for all types of need and we can even get your server up and running with the service of your choice.