


How to set up a WAMP server on the cloud, WAMP server setup on Windows 10
What is a WAMP server? PHP developers may have a pretty decent idea as to how the WAMP server works and the extent of its usage. If you find yourself beginning to be increasingly curious about the nature of this article, then you also may know about the functions of a WAMP server and are probably more interested in the WAMP server setup on Windows 10.
Luckily, the objective here is to do both. Explain what a WAMP server is to those who may not be familiar and also, as the title suggests, list down details as to how one may set up the server on their browser.
What is a WAMP server?
The reason behind earlier linking WAMP with PHP developers is because this type of server is in fact most commonly used by PHP developers. WAMP is a free and open-source developer tool used for setting up development and testing environments.
It is best suited for Windows but also compatible with other platforms. It also comes with a prepackaged WAMP control panel to simplify usage by allowing quick access to all components of the server.
The components of the WAMP server
WAMP can best define by the components that make up the server. It is basically a stack of developer programs that are linking in order to optimize the performance of the tasks that it is used to achieve.
As the name explains, it comprises Windows, Apache, MySQL, and PHP. The initials of these are put together to derive the name of the server, WAMP. Some additional modules such as PHPMyAdmin, database management, and add-on features are also available.
The prerequisites for WAMP server setup on Windows 10
For successfully installing and running the WAMP server on your machine, there are certain prerequisites that have to be made available. Most importantly, the installation of Microsoft Visual C++ redistributable packages.
To list it out, the prerequisite packages are :
- Microsoft Visual C++ 2008 redistributable package (64 bit)
- Microsoft Visual C++ 2010 redistributable package (64 bit)
- Visual C++ redistributable packages for Visual Studio 2013
- Visual C++ redistributable package for Visual Studio 2012, update 4
- Microsoft Visual C++ redistributable package for Visual Studio 2015
- Microsoft Visual C++ redistributable package 2017.
Once the prerequisite packages are up and running, all that remains is the installation process.
Installation of the WAMP server
The installation can complete following an easy step by step guide.
1.To start, you have to download the WAMP server from its website https://www.wampserver.com/en/
The prerequisites we have mentioned above are for the 64-bit version, so click on the WAMP server 64-bit download kit on the left.

2. The pop-up will show you a “download directly” link which instantly downloads the WAMP Installer file to your computer.
3. The first dialog box, after you launch the installer, will prompt you to choose the default language.

4. On the license agreement page, click on “I agree to the agreement”. Follow through with the installation by clicking “next” until you get to the page where you ask to choose a folder location where the WAMP server will install.

5. The next screen is very important since this is where you will choose the components of the server that you wish to configure and installed onto your server. This is what the component selection screen looks like:

6. The next screen prompts you to select the location of the folder containing the shortcut for the start menu.
7. The setup will now list the chosen configurations for the installation of the server. After verifying the information you should be able to click on the “install” button at the bottom.

8. Before the  installation is complete you will ask to define the default text editor to be associated with the WAMP server.
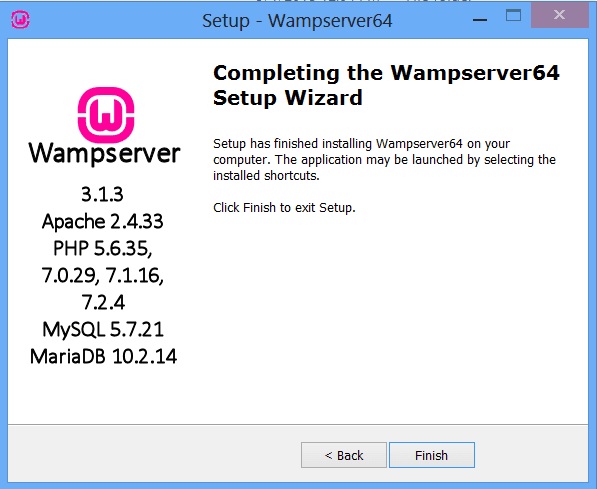
9. The following screen will appear before the installation process is complete. Click on the “finish” button and your WAMP server is ready to use.
Wamp server setup on windows 10
The WAMP Server:
After the WAMP server configures into your taskbar, there are many settings and features that you will be able to explore. There are a lot of add ons and updates which intrigue web-based application developers who continue using the WAMP server.
To facilitate and encourage WAMP based developments, Cloudsurph offers the best $2 Windows VPS packages which can customize to meet the flexing needs of the most progressive WAMP developers.
Given the user-friendly tools and interface of the WAMP server, it is not surprising to see entry-level developers also opting for the WAMP server to develop and test Windows-based applications.