


In this article, we try to show an example of post pagination or navigation created by JavaScript.
So, let’s see the article for Pagination in Vanilla JavaScript, how to create a custom post pagination with JavaScript, Fetching REST API Posts, how to Implement Pagination in JavaScript, Implementing Pagination Logic and posts pagination with JavaScript.
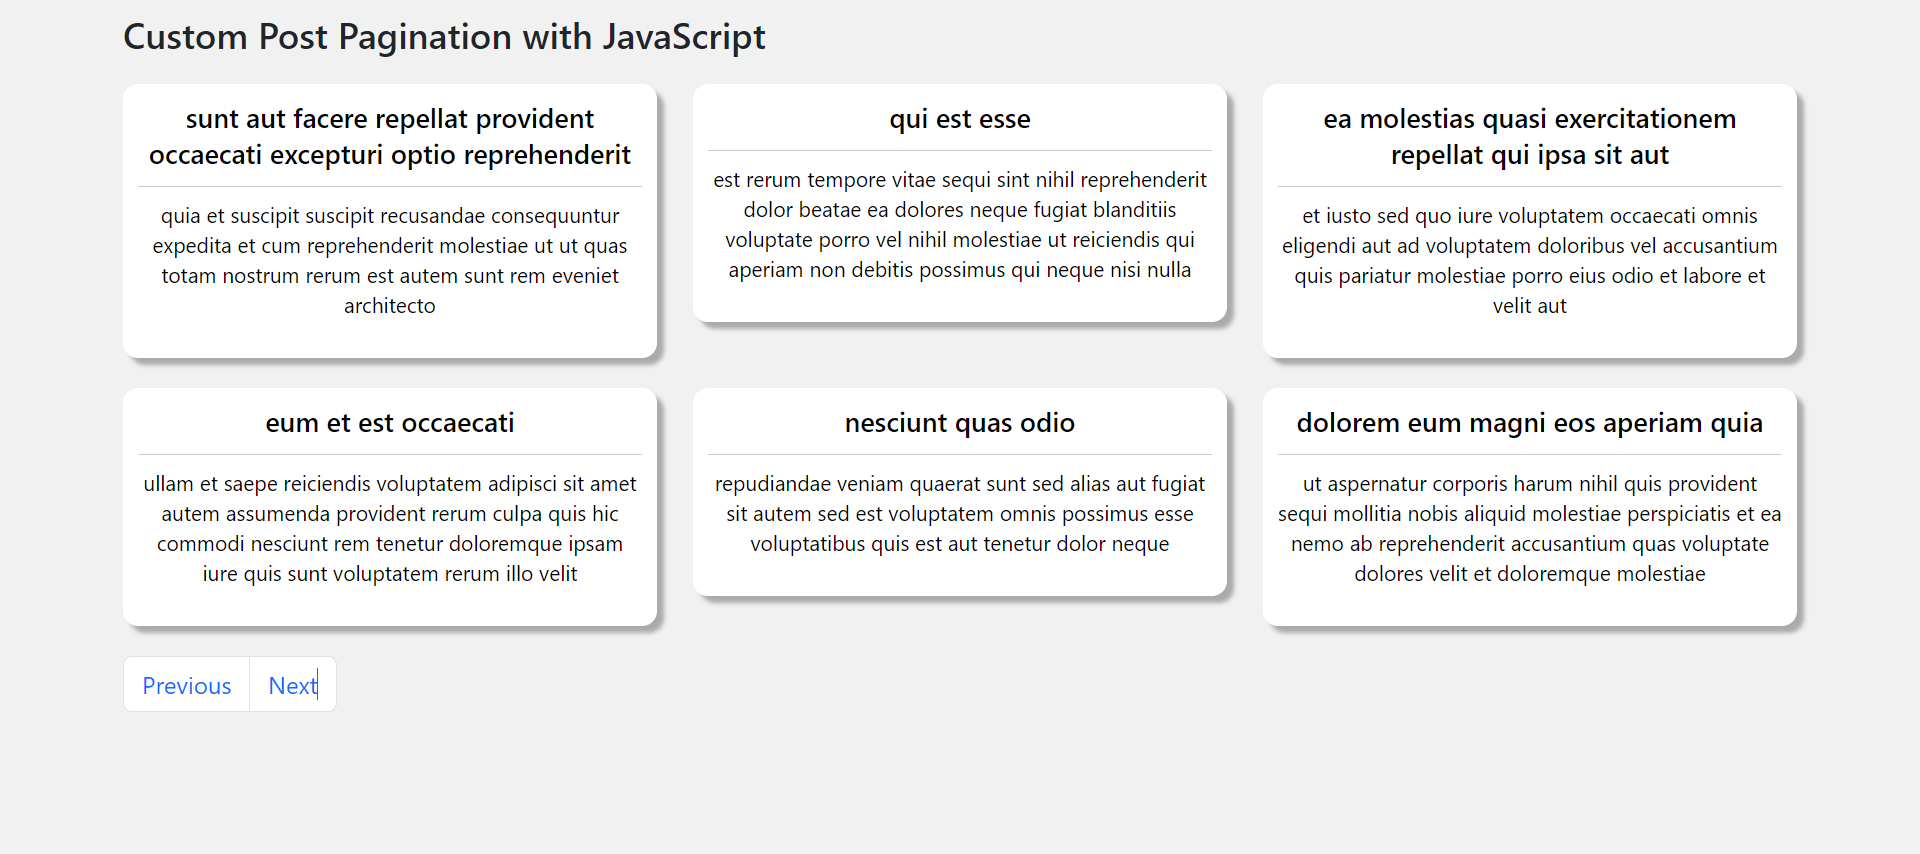
How to create a custom post pagination with JavaScript
In this case, when we create a website or web application, especially if they feature a lot of template content and it’s generally a good idea is divided it into pages to reduce the number of items that appear on the screen at once.
If you want then buy a good, reliable, secure web hosting service from here: click here
For the purpose of our example, we are using fetch the content from this example API response.
Previous JavaScript Articles
- JavaScript Variables
- JavaScript Operators
- Creating an Object in JavaScript
- Introduction to Asynchronous JavaScript
- Control Flow in JavaScript
- What is JavaScript Regex?
- JavaScript Events Example
- How to create a preloader in JavaScript?
- forEach method in JavaScript
- Sorting Arrays in JavaScript
- Linear Search in JavaScript
Pagination in Vanilla JavaScript
Firstly, we create our template and then fetch all required posts from the API using the browser’s built-in Fetch API.
Hence, we first need to create a basic HTML markup template that will be dynamically filled via our JavaScript later
<section class="pt-2">
        <div class="container">
           <div class="title-section">
                <h1 class="title">Custom Post Pagination with JavaScript</h1>
           </div>
           <div class="posts-section row"></div>
            <div class="pagination-section">
                <ul class="pagination">
                    <li class="page-item prev"><a class="page-link" href="#">Previous</a></li>
                    <li class="page-item next"><a class="page-link" href="#">Next</a></li>
              </ul>
            </div>
        </div>
   </section>
Fetching REST API Posts
As mentioned before, we require you to fetch the data, calculate the number of pages, decide when and how to split, and then show a portion of it to the user.
Let’s get started by first fetching from all our posts and then later we will amend this to query only a few data points per page:
const postsSection = document.querySelector(".posts-section");
        const fetchPosts = async (pageNumber) => {
            const response = await fetch(
               "https://jsonplaceholder.typicode.com/posts"
           );
            const posts = await response.json();
           postsSection.innerHTML = "";
           posts.forEach((post) => {
               postsSection.innerHTML += `
            <div class="posts-card col-md-4">
              <div class="post-item">
                    <div class="post-title">
                       <h2 class="post-title-text">${post.title}</h2>
                    </div>
                   <div class="post-body">
                        <p class="post-body-text">
                       ${post.body}
                       </p>
                    </div>
                </div>
            </div>
            `;
           });
        };
        fetchPosts();
How to Implement Pagination in JavaScript
In this situation, we need first one is the number of posts that we want to declare per page and then the current page number (1 by default), and the total number of pages. Here we give the total number of pages a fixed number of 30
const numberPerPage = 6;
var pageNumber = 1;
var numberOfPages = 30;
Secondly, here we making use of these parameters by ammending our fetch request like below the code
const postsSection = document.querySelector(".posts-section");
        const fetchPosts = async (pageNumber) => {
            const response = await fetch(
               `https://jsonplaceholder.typicode.com/posts?_page=${pageNumber}&_limit=${numberPerPage}`
           );
            const posts = await response.json();
           postsSection.innerHTML = "";
           posts.forEach((post) => {
               postsSection.innerHTML += `
            <div class="posts-card col-md-4">
              <div class="post-item">
                    <div class="post-title">
                       <h2 class="post-title-text">${post.title}</h2>
                    </div>
                   <div class="post-body">
                        <p class="post-body-text">
                       ${post.body}
                       </p>
                    </div>
                </div>
            </div>
            `;
           });
        };
        fetchPosts();
Implementing Pagination Logic
Now we create the pagination button by the below code to our application template
If you want then buy a good, reliable, secure web hosting service from here: click here
<div class="pagination-section">
                <ul class="pagination">
                   <li class="page-item prev"><a class="page-link" href="#">Previous</a></li>
                    <li class="page-item next"><a class="page-link" href="#">Next</a></li>
                </ul>
            </div>
Implementing Previous Button
Now we add the CLICK event listener, to it and show the appropriate content when the button is clicked like the below code
// Add event listeners to the prev button
        const prev = document.querySelector('.prev');
       prev.addEventListener('click', (e) => {
        e.preventDefault();
        if (pageNumber > 1) {
            pageNumber--;
            fetchPosts(pageNumber);
        }
        });
Implementing Next Button
Now we add the CLICK event listener, to it and show the appropriate content when the button is clicked like the below code
If you want then buy a good, reliable, secure web hosting service from here: click here
// Add event listeners to the next button
       const next = document.querySelector(".next");
        next.addEventListener("click", (e) => {
            e.preventDefault();
            if (pageNumber < numberOfPages) {
               pageNumber++;
               fetchPosts(pageNumber);
            }
        });
Lastly, we can just add some CSS for design our page template
You can purchase your hosting from Cloudsurph.com, Cloudsurph hosting is a reliable hosting option for business and personal projects. We offer insight and help on system configuration issues and code errors or bugs.
<style>
        body{background: #f1f1f1;}
       .title-section h1{font-size:24px;padding-bottom: 10px;line-height: 30px;}
       .post-item{
            background: #fff;
            color: #000;
            padding: 10px;
            margin-bottom: 20px;
            border-radius: 10px;
           box-shadow: 5px 5px 3px #aaa;
           text-align: center;
       }
        .post-item h2{
            font-size: 18px;
            line-height: 24px;
            border-bottom: 1px solid #ccc;
           padding-bottom: 10px;
        }
        .post-item p{
           font-size:14px;
            line-height: 20px;
        }
    </style>
Finally, open your HTML file in your browser. Also, I attached a zip file for your help, so please click the download link to get JavaScript preloader resources.
ClICK HERE FOR DOWNLOAD THE FILE >>
That’s it. If you enjoyed reading this article and have more questions please reach out to our support team via live chat or email and we would be glad to help you. we provide server hosting for all types of need and we can even get your server up and running with the service of your choice.